Introduction
Learning how to clean, inspect, and maintain a blood glucose meter matters when you monitor a diabetic cat at home. A dirty meter, damaged test strips, or an overlooked error message can turn a routine reading into a confusing result. The goal is not to make the equipment look spotless. It is to keep the testing system reliable while following its specific instructions.
Start with the user manual and your veterinarian’s training plan. A blood glucose meter for cats should be appropriate for feline blood samples, and the correct strips must match that meter. This guide explains the safe cleaning sequence, quick pretest inspections, quality-control checks, storage habits, and warning signs that mean you should stop testing and ask for help. Results guide veterinary decisions; they should never become a reason to change insulin independently.
Know what needs cleaning—and what must stay dry
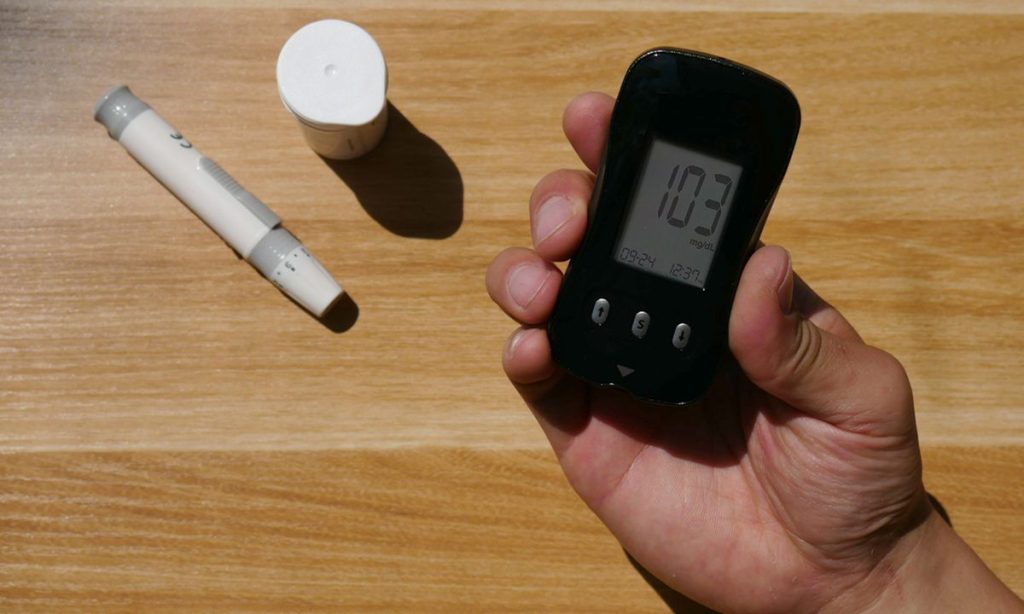
A home glucose-testing kit usually includes the meter, compatible strips, a lancing device, sterile lancets, a carrying case, and sometimes control solution. These items do not all tolerate moisture or cleaning chemicals in the same way. A meter is an electronic instrument. Its test-strip port, seams, screen, and battery compartment need particular care. A used lancet is a sharp, not a reusable cleaning project.
For safe meter maintenance, identify the manufacturer’s cleaning and disinfection directions before the first test. Cleaning removes visible debris. Disinfection uses an approved method to reduce microbes when the manufacturer indicates it is necessary. Those are different tasks. Never assume that alcohol, bleach, soap, or disinfectant wipes are suitable for every model. The wrong fluid can damage sensors and change readings.
Separate the sample-contact items
Treat every used lancet as single use and place it in an approved sharps container. Never share a lancing device between animals or people. Dispose of used strips according to local guidance and the meter instructions. If blood reaches the reusable device’s exterior, follow its approved cleaning process. Avoid touching the strip’s sampling area with wet or contaminated fingers. A clean testing surface also helps keep the kit organized.
A practical cleaning routine after testing
When learning how to clean, inspect, and maintain a blood glucose meter, begin with simple habits you can repeat after every session. Turn off the unit if its manual requires this, remove the used strip, and keep liquids away from its openings. Wash your hands and wipe visible dust from the outer housing with a manufacturer-approved method. Do not spray cleaner directly onto the device.
If the manual allows a lightly dampened cloth, keep the cloth damp rather than dripping. Clean the screen, buttons, and exterior gently. Let approved cleaning agents dry for the required contact or drying time before using the meter again. Do not submerge the instrument, scrub the strip port with a wet swab, or open the casing. Manufacturers may require different steps, so their model-specific instructions take priority.
Avoid common cleaning errors
Do not insert a strip while the device is wet or wipe blood into its test-strip opening. Avoid abrasive cloths that scratch the display. Keep cleaners away from exposed test-strip contacts unless the manufacturer specifically allows port cleaning. If the meter becomes soaked, cracked, or visibly contaminated internally, stop relying on it. Contact the manufacturer or veterinary clinic about replacement or professional assessment.
Inspect the meter and supplies before every reading
A brief pretest inspection can reveal problems before they affect your cat’s care. Check the screen for cracks, the case for moisture, and the strip port for obvious debris. Confirm that the display starts normally and that the battery indicator is adequate. Review any error message instead of repeatedly trying strips without understanding the fault. A meter with intermittent power or unexplained numbers deserves attention.
Inspect the strip container and every strip you use. Check the expiration date, storage instructions, and whether the container was tightly closed. Do not use strips that appear bent, wet, contaminated, or incompatible. A strip exposed to humidity or excessive heat may give unreliable results even if its packaging still looks normal. Keep a simple log of recurring error codes and circumstances.
Check settings and your testing technique
Confirm the correct units and any species setting required by your veterinary-calibrated system. Make sure date and time are accurate for the glucose log. Use the sampling technique your veterinary team demonstrated. Too little blood, squeezing the site excessively, or touching the strip incorrectly can affect test performance. If you encounter repeated errors, compare your sequence with the guide to common blood glucose meter setup problems before calling the clinic.
Control solution and accuracy checks
Control solution is used when the manufacturer instructs you to verify that the meter and strips are working together. Follow the exact control-test procedure. The acceptable range printed for a control solution belongs to that product and strip system, not to your cat’s target glucose range. Do not substitute water or other fluids. Check control-solution expiration and any discard period after opening.
A control test is especially useful after a new batch of strips, unusual error patterns, or suspected storage damage, depending on the meter instructions. A result outside the specified control range means you should investigate rather than trust the next blood reading automatically. A meter that passes a control test can still differ from laboratory testing. Your veterinarian may periodically compare results against a clinic method.
Respond to a surprising number safely
If a glucose reading conflicts with your cat’s behavior, inspect the setup and repeat only according to veterinary guidance using a fresh strip. Record the number and symptoms. Watch for weakness, wobbliness, tremors, seizures, unusual sleepiness, or poor responsiveness. These can indicate urgent problems, including low blood glucose. Follow your veterinarian’s emergency plan and seek urgent veterinary care when indicated. Do not independently increase an insulin dose from one unexpected reading.
Storage habits that protect testing accuracy
How to clean, inspect, and maintain a blood glucose meter also includes protecting the equipment between sessions. Store the system in a dry, stable place within the temperature and humidity ranges listed by its manufacturer. Keep the meter, strips, and control solution away from direct sunlight, a hot car, freezing conditions, and steam from a bathroom or kitchen. Use the carrying case for protection, not as a place for damp supplies.
Close strip containers promptly. Some strips have special storage or opening-date rules, so check the label. Keep spare batteries available if the meter uses replaceable ones. Do not mix old and new strip lots without checking your instructions. Record replacement dates, control checks, and repeated errors. A modest maintenance log can be more helpful than a long checklist you rarely follow.
Coordinate readings with the daily feeding plan
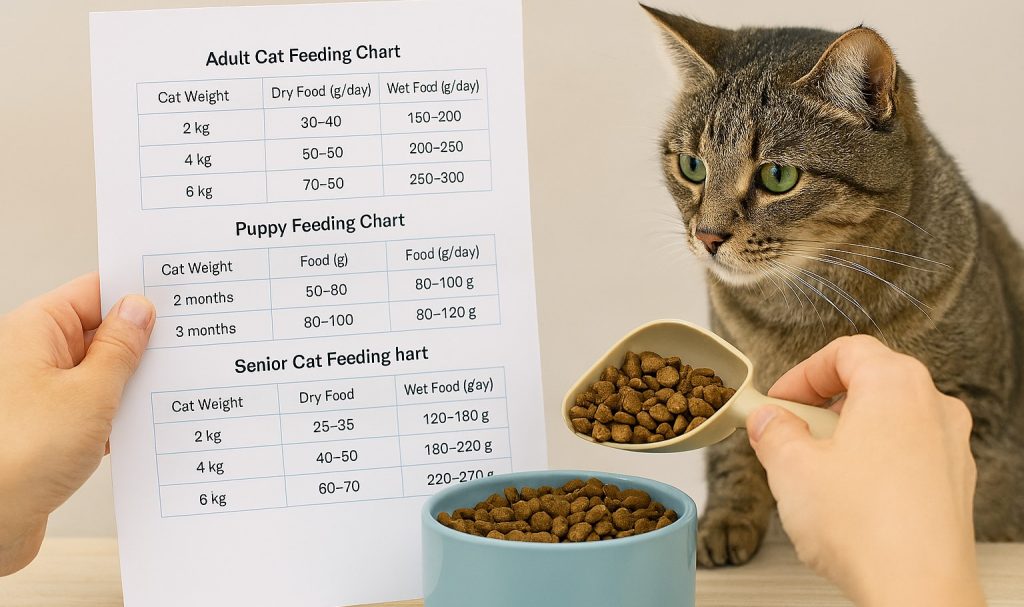
Glucose numbers are easiest for a veterinarian to interpret alongside food intake, insulin timing, appetite, water consumption, and activity. Use a consistent recording format. If you need to measure meals more carefully, see how to estimate daily portions of cat food. Report missed meals, vomiting, or major behavior changes promptly. Never treat equipment upkeep as a substitute for clinical follow-up.
When to replace equipment or call your veterinarian
Some problems are maintenance issues; others require a new meter, strips, or professional evaluation. Replace expired or damaged disposable strips. Ask about replacement when the meter has a cracked casing, liquid intrusion, persistent error messages, or failed control checks. A device that appears normal can still be inaccurate. Your veterinary team can advise whether comparison testing is needed.
Contact the clinic if sampling becomes difficult, your cat resists strongly, or the readings repeatedly disagree with symptoms. Ask for a hands-on refresher rather than forcing a stressful procedure. A cat that will not eat, seems very weak, has seizures, or is poorly responsive needs prompt veterinary guidance regardless of what the screen displays. Your safety plan should already explain whom to call outside business hours.
Frequently Asked Questions
Small maintenance questions can cause large gaps in a home glucose log. The following answers focus on protecting the equipment and recognizing when a result needs veterinary review. Always compare them with your own meter’s directions because cleaning methods, strip storage, and quality-control rules differ by model.
A useful routine is repeatable and gentle. You do not need to invent a stronger cleaning solution or run extra tests to make the system safer. Clear labels, compatible supplies, and dependable records matter more than complicated procedures.
Can I use rubbing alcohol to clean a glucose meter?
Only if the manufacturer approves that material and procedure. Some devices permit specific wipes; others require different care. Never flood openings or spray liquid into the meter.
Should I wash and reuse a used test strip?
No. Blood glucose test strips are single use. Reusing one can give an invalid result and creates avoidable contamination risk.
How often should I run a control test?
Follow your model’s instructions and your veterinarian’s guidance. Common triggers include opening new supplies, unexpected readings, and suspected equipment damage.
Can I use a human glucose meter for my cat?
Veterinary-calibrated meters are preferred because feline blood differs from human blood. Discuss any alternative device with your veterinarian before depending on its readings.
What if the meter and my cat’s symptoms disagree?
Check for obvious technique problems, document the reading, and contact your veterinarian. If your cat has serious symptoms, seek urgent care rather than waiting for another number.
Final Words
Knowing how to clean, inspect, and maintain a blood glucose meter is a practical part of feline diabetes management. Keep the housing clean only as directed, inspect strips and batteries before use, store everything carefully, and investigate surprising readings. The simplest reliable routine is usually the one you can follow without skipping steps.
A veterinary-calibrated blood glucose meter for cats works best when your veterinarian helps interpret the readings alongside symptoms, meals, and treatment. If you are unsure about setup, revisit common glucose meter setup and adjustment problems and arrange a demonstration. Safe maintenance supports better information; it does not replace veterinary decisions.
Reference
These professional veterinary references support the guidance on home glucose monitoring, equipment quality assurance, and interpretation of feline glucose results. They offer clinical context rather than instructions for every individual meter model.
For cleaning methods, control solution, and maintenance intervals, the manufacturer’s current manual remains essential. Your veterinarian should explain how the clinical advice applies to your cat’s diagnosis and treatment plan.