Long-distance trail riding asks more of hoof boots than a short trip around the barn. A boot that feels fine for ten minutes may rub after miles, loosen as the hoof moves, or collect grit during stream crossings. Before buying, consider your horse’s hoof shape, the ride surface, expected mileage, weather, and access to stops for inspection. Fit and gradual conditioning matter more than a feature list. This guide walks through measurement, sole design, closures, break-in, and field checks so you can make a practical choice. It also explains when boots are not the right response to discomfort and why a farrier’s input is useful before a demanding ride. Test the complete setup over short rides first, then extend distance only if the boots remain stable and the horse moves freely.
Start with the horse and the hoof
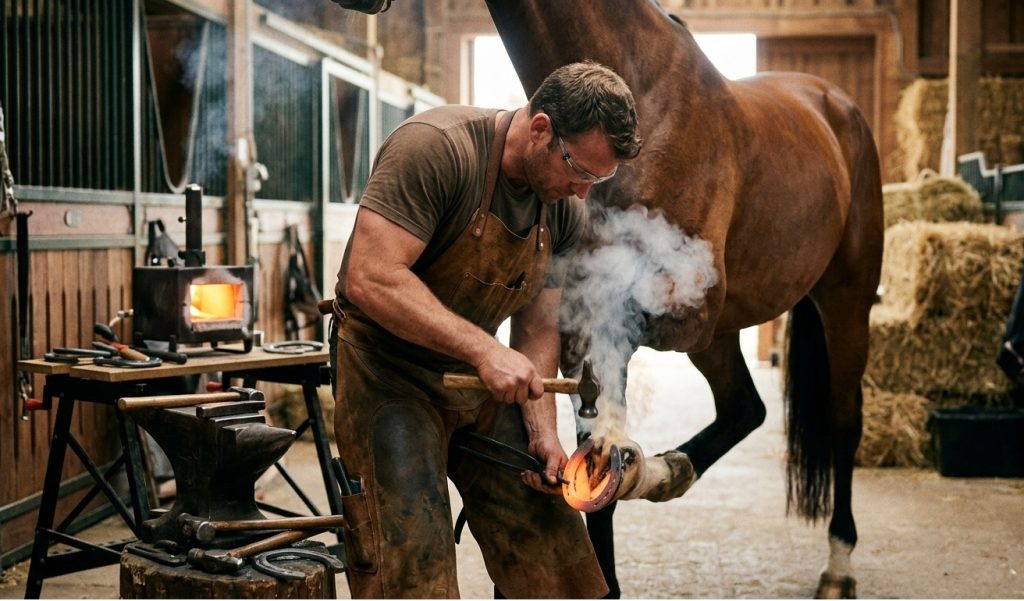
Check the hoof when it is clean and dry, and use the manufacturer’s current sizing instructions. Measure each hoof separately; front and hind feet may differ. Record width and length at the locations and timing specified by the maker, since freshly trimmed and grown-out hooves can measure differently. If the hoof shape is changing, ask your farrier when to measure and whether a boot is suitable.
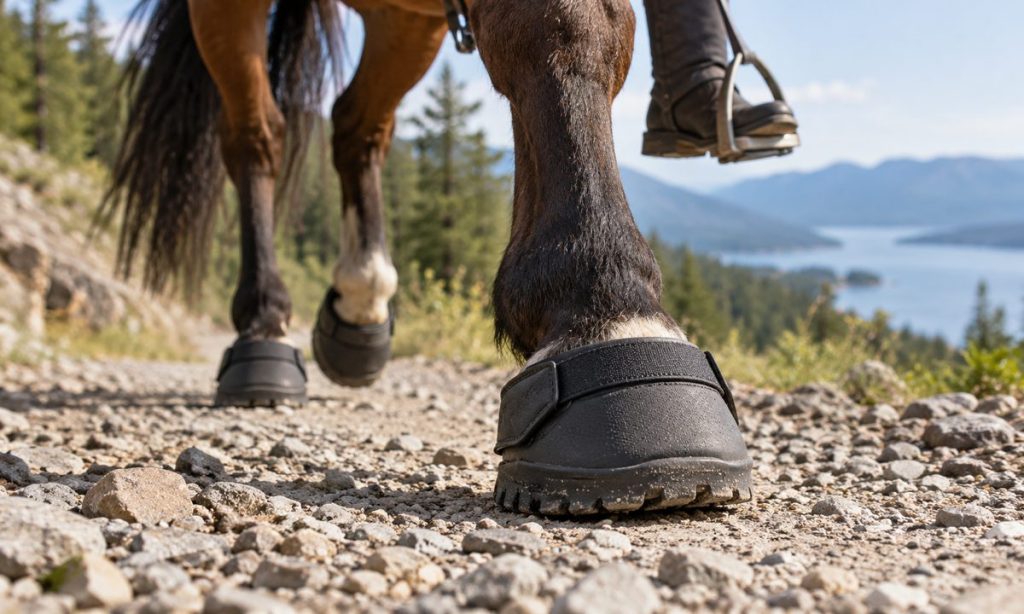
Boots should not pinch, rock, or rotate. The closure should stay secured without pressing into the coronary band or heel bulbs. Do not size up automatically to make room for padding. Thick inserts can change internal fit and may crowd the hoof. Consult the boot maker and your farrier about any pad or insert.
Compare sole protection, traction, and closure
For rocky footing, look for a sole and tread intended for the surfaces you ride. Deeper or more rigid patterns may protect from sharp stones but can feel less flexible. Traction must match the conditions; aggressive tread is not automatically safer on every wet, paved, or uneven surface. Consider whether debris can be cleared and whether the tread wears evenly.
Closures vary in how they secure the boot and how easy they are to adjust with cold fingers or gloves. Prefer a design that you can inspect and fasten correctly. Look for smooth interior surfaces, well-finished edges, and materials that can be cleaned and dried between rides. Review the care instructions, expected wear points, and replacement parts.
Trial the boots before the trail
- Fit both boots on clean hooves using the manufacturer’s instructions.
- Walk on level ground, then turn and back up. Watch for twisting, lifting, or shortened steps.
- Remove the boots and check for warmth, dampness, hair disturbance, or rub marks.
- Build up gradually with short rides and recheck during the outing.
- Carry a safe backup plan and inspect the boots after water, mud, or debris exposure.
Stop using a boot if it causes a rub, changes the horse’s gait, or becomes unstable. Sudden lameness, heat, swelling, a puncture, or persistent tenderness should be assessed by a veterinarian or farrier. A boot should not cover an unresolved injury.
Match the boot to the trip
For a short rocky section, easy on-and-off may matter most. For repeated long rides, durability, predictable fit, cleanability, and access to replacement parts deserve more attention. Check whether the manufacturer permits the boot for the pace and activity you plan. Compare the full set-up, including any gaiters or pads, because accessories can affect fit. Keep a record of trim dates and inspect the hoof after each use.
Our guide to horse boots for trail riding covers related trail-use considerations. Riders planning a longer outing may also find our guide to horse distance and endurance riding useful for thinking through conditioning and ride demands.
Plan for breaks, cleaning, and backup
Long rides make small fit problems more important. Plan regular opportunities to dismount or pause, check closures, and remove debris. Carry the manufacturer’s recommended spare parts if available, plus a safe plan if a boot loosens or is lost. Do not continue at distance with a damaged closure or a horse whose stride has changed.
Water crossings, mud, sweat, and grit can affect both the boot and the hoof. After the ride, rinse and dry the boot as directed and check it for worn tread, cracks, stretched straps, or failed fasteners. Inspect the hoof for heat, tenderness, or marks. Routine cleaning and early replacement of worn parts can help keep the fit predictable from one trip to the next.
Plan the full ride, including checks and backups
A boot that works for a short loop may not remain comfortable through hours of changing footing. Before a longer ride, confirm the maker’s guidance for duration and pace, then build up gradually over several outings. Include the same accessories you plan to use on the trip, since gaiters, pads, or different closures can affect fit. Keep notes on mileage, footing, weather, and when the horse was trimmed. This makes it easier to spot a pattern if a boot shifts or a hoof becomes tender.
Ride planning also depends on conditioning, pace, terrain, and recovery. Our guides to how far a horse can travel with a rider and daily horse travel distance provide broader context for setting a realistic route.
Think about what you will do if a boot loosens, fills with debris, or begins rubbing far from the trailhead. Choose a route with safe places to stop, carry any small adjustment items the manufacturer recommends, and have a plan for shortening or ending the ride. Do not continue at speed in a boot that is twisting or changing the horse’s stride. A spare boot is useful only if it fits that hoof and you have practiced putting it on.
Inspect the boots during natural rest stops and whenever the footing changes substantially. Look for a lifted heel, packed grit, loose fasteners, or a new gap. After the ride, remove each boot and check the hoof and lower limb for pressure marks, heat, dampness, and tenderness. Clean and dry the equipment as directed. If soreness recurs at a similar distance, pause longer rides and review fit and hoof health with your farrier rather than simply tightening the boot.
Frequently Asked Questions
Should a hoof boot feel tight?
It should be secure without pinching, rotating, or rubbing. Follow the maker’s fit guidance and inspect the hoof after a short trial.
Can hoof boots stay on for every ride?
Use them only for activities and durations allowed by the manufacturer. Check fit, wear, and the hoof regularly.
Do boots fix a sore hoof?
No. They may protect the hoof in some situations, but persistent or sudden pain needs assessment by a veterinarian or farrier.
Should I use pads inside hoof boots?
Only when the design allows them and the fit remains correct. A pad can reduce internal space or shift the hoof, so seek professional fitting advice.
How do I know if a boot is rubbing?
Look for hair disturbance, redness, warmth, dampness, or a change in gait. Remove the boot and reassess instead of continuing the ride.
Final Words
Choose a boot around measured hoof shape, intended terrain, and the horse’s comfort. Test it gradually, inspect after use, and adjust the plan if it shifts or rubs. If hoof sensitivity continues, involve your farrier or veterinarian before increasing ride distance.