Introduction
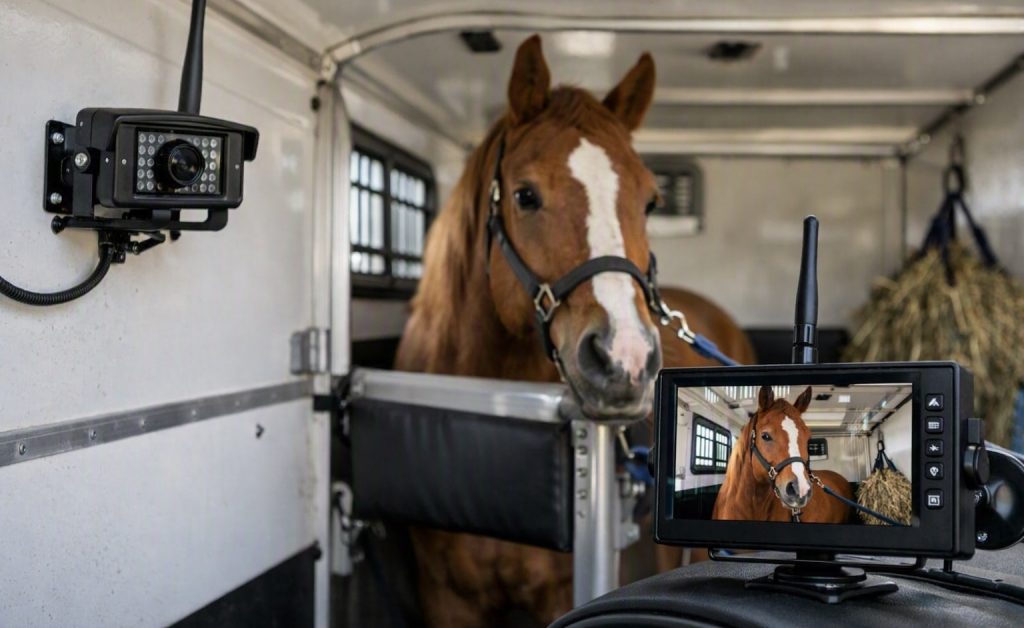
A horse trailer can look ready while hiding a loose latch, weak floorboard, low tire, or failed brake light. A consistent pre-trip check gives you a chance to find problems before a horse is loaded, when repairs are safer and less stressful. Inspect the towing vehicle and trailer, confirm the hitch and safety connections, test the brakes and lights, and look inside for hazards, secure dividers, and adequate airflow. Then plan the route, emergency stops, and horse-specific supplies. If you are considering a camera for inside a horse trailer, remember that it can help you observe the horse while safely stopped, but it does not replace a sound trailer or careful driving. Use the checklist below before each trip, then follow your manufacturer’s maintenance schedule.
Start with the tow vehicle and hitch
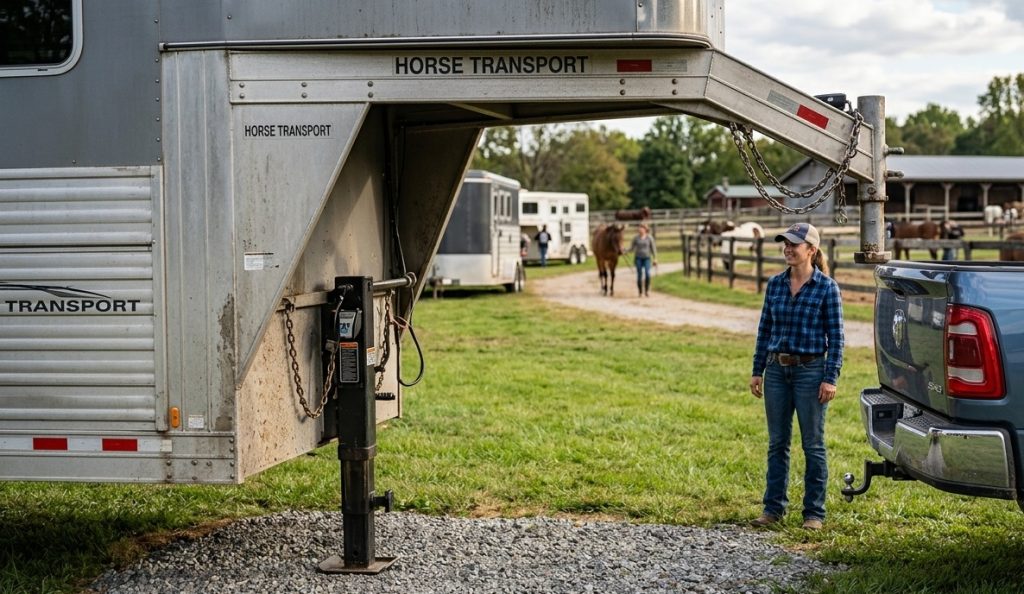
Park on firm, level ground and confirm the towing vehicle is suitable for the loaded trailer’s weight and hitch type. Check the receiver, ball or gooseneck connection, coupler, locking pin, and any required safety pin for wear, cracks, looseness, rust, or incomplete engagement. If anything looks damaged or does not latch securely, do not load the horse until it is repaired or inspected by a qualified professional.
Attach safety chains or cables as specified by the trailer and vehicle manufacturers. Connect the electrical plug and breakaway system, and make sure the breakaway cable is attached to the towing vehicle as directed. Verify that the trailer sits level and that the hitch is fully locked before loading. Never rely on the coupler’s appearance alone; use the manufacturer’s method to confirm it is engaged.
Check tires, wheels, and running gear
Inspect every trailer tire, including inner tires on a dual-axle setup and the spare. Look for low pressure, cuts, bulges, cracks, uneven wear, exposed cord, or signs of dry rot. Inflate to the pressure specified for the tire and trailer load, not a guessed value. Confirm lug nuts are present and that rims show no visible damage. If a tire has a defect, replace it or have it assessed before travel.
Check that wheel bearings, suspension, and undercarriage are maintained according to the trailer maker’s schedule. Listen for unusual noises and look for fluid leaks, loose components, or damage. A routine visual check does not replace periodic professional service. Keep a properly rated spare, jack, lug wrench, and the tools needed to use them safely.
Test brakes, lights, and emergency equipment
With the trailer connected, test brake lights, turn signals, marker lights, and running lights. Check the trailer brake controller and emergency breakaway system using the procedures in the owner’s manual. If the trailer brakes feel weak, grab, or do not respond, do not haul until the problem is fixed. Laws and equipment requirements vary by state, so confirm what applies to your rig and route.
Carry reflective triangles or other approved roadside warning devices, a flashlight, basic tools, a first-aid kit for people, and horse emergency supplies suited to the trip. Keep emergency contacts, veterinary records, and route details accessible. Store equipment so it cannot roll into the horse compartment or become a projectile if you stop suddenly.
Inspect the floor and horse compartment
Check the floor for soft spots, rot, corrosion, broken boards, loose mats, gaps, or protruding fasteners. Inspect from above and underneath when safe. Mats should lie flat, provide secure footing, and not conceal damage; lift them periodically as part of maintenance. Look for sharp edges, loose bolts, exposed wires, damaged padding, and anything that could snag a halter or injure a horse.
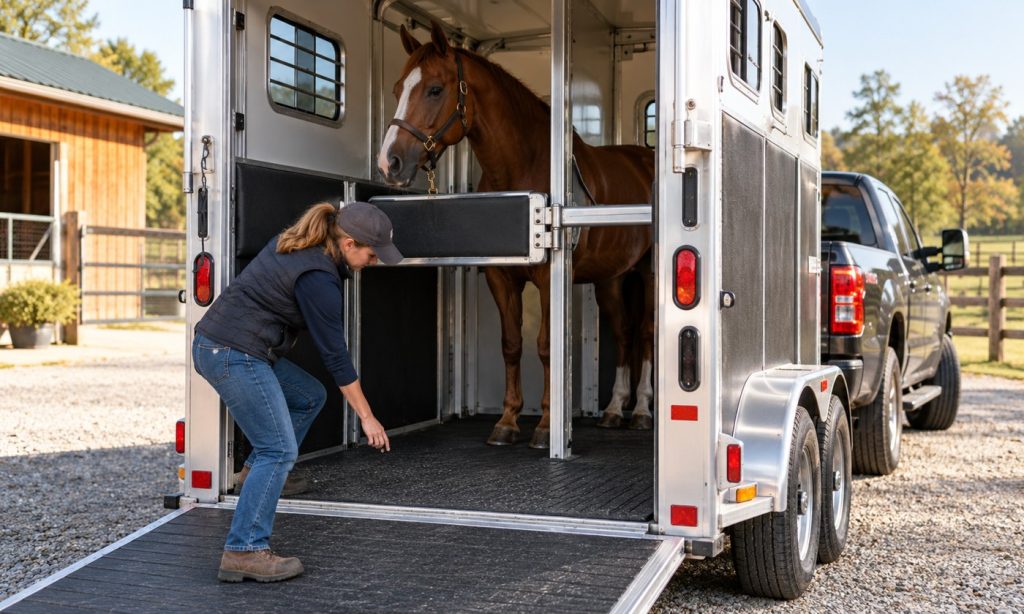
Check the ramp, hinges, springs, butt bar, chest bar, divider, and doors. Each should move freely, support its intended load, and latch securely. Confirm that partitions are stable and not bent or cracked. Make sure doors cannot swing open in transit and that emergency exits are accessible. If the trailer has a ramp, use it only when its surface, hinges, and supports are sound.
Confirm ventilation and horse comfort
Open vents or windows as appropriate for the weather and trailer design, and ensure air can move without exposing the horse to hazards. Secure hay bags so they cannot swing, snag, or entangle the horse. Remove loose equipment and check that water containers, if carried, are fastened safely. Keep the horse’s travel area free of tack and loose objects.
Before loading, confirm that the horse is fit to travel, has appropriate identification, and is comfortable with the trailer and loading routine. Practice loading well before a planned trip if the horse is inexperienced. Use safe handling procedures and a suitable halter and tie arrangement based on your veterinarian’s or trainer’s advice. Do not enter a confined trailer stall with a horse if doing so puts you at risk.
Walk-around checklist before departure
-
Hitch and connections: coupler or gooseneck locked, safety chains or cables attached, electrical plug connected, breakaway system ready.
-
Tires and wheels: pressure and condition checked on all tires, spare inspected, lug hardware present, no visible damage.
-
Brakes and lights: trailer brakes tested, controller functioning, turn signals, brake lights, and markers working.
-
Structure: floor firm, mats flat, ramp and partitions secure, doors and latches closed, no sharp edges or loose objects.
-
Horse area: airflow adequate, hay and water containers secured, emergency exits accessible, horse tied safely if the travel setup calls for it.
-
Trip plan: route and weather reviewed, paperwork and emergency contacts ready, safe places to stop identified, roadside gear packed.
Drive and stop safely
Allow extra room for turning and stopping. Accelerate, brake, and corner smoothly, and choose a speed appropriate for conditions and the trailer. Avoid abrupt maneuvers that can unbalance a horse. Never use a phone or monitor while driving. If you need to look at an in-trailer camera or check the horse, pull fully off the road in a safe place first. At planned stops, inspect the hitch, chains, tires, doors, and horse while remaining alert to traffic and safe handling.
After the trip, check the horse for injury or unusual distress and inspect the trailer for fresh damage. Clean and dry the floor and mats as the manufacturer recommends. Make a note of any repair or maintenance issue before the next haul so it is not forgotten.
Frequently Asked Questions
How often should I check my horse trailer?
Do a walk-around inspection before every trip and follow the manufacturer’s schedule for detailed service. Tires, brakes, bearings, floors, and electrical systems need periodic checks even when the trailer has not been used recently.
Should the trailer be hitched before loading?
Follow the trailer maker’s instructions and established safe-loading guidance. Many extension resources advise securing the trailer to the tow vehicle before loading because an unhitched trailer may move or become unstable.
Can I travel inside the trailer to watch my horse?
No. Do not ride in the horse compartment while the vehicle is moving. Use a safe observation method, and stop in a secure location before checking the horse directly.
What should I do if a floorboard feels soft?
Do not load the horse. A weak floor can fail under weight. Have the trailer inspected and repaired by a qualified professional before traveling.
Does a trailer camera replace pre-trip checks?
No. A camera may help you observe the horse, but it cannot confirm that the hitch, tires, brakes, floor, doors, or ventilation are safe. Keep doing physical inspections.
Final Words
Before a trip, inspect the tow vehicle connection, tires, brakes, lights, floor, ramp, doors, dividers, ventilation, and emergency gear. Load only after the trailer is securely hitched and the horse compartment is safe. Drive smoothly, stop in a safe place before checking the horse, and follow the trailer manufacturer’s maintenance schedule. A camera for inside a horse trailer can support observation during a stop, but regular hands-on checks remain essential.