
A bit that works in an arena may not automatically suit a trail ride, where footing, terrain, and unexpected situations can affect how the horse responds. Before choosing a horse bit for trail riding, make sure the horse is comfortable in the bridle, the bit fits the mouth, and the rider can use it with steady, educated hands. A stronger or unfamiliar bit is not a shortcut to control and can create discomfort or conflict. This guide explains pre-ride checks, how to recognize possible mouth discomfort, and what to consider before changing equipment. For a horse that is hard to stop or increasingly resistant, address training, pain, and tack fit with qualified help before heading onto a challenging trail.
Start with the horse and rider
Choose equipment the horse already understands and the rider can use reliably. If the horse is comfortable in its current bit and responds to light, consistent cues, avoid making an unnecessary change immediately before a ride. A trail setting can add distractions, hills, wildlife, other horses, and narrow spaces; introduce new tack gradually in a controlled environment with an experienced instructor.
Bit choice is only one part of communication. Rider balance, seat, leg, reins, bridle fit, training, and the horse’s health all matter. A horse that pulls, tosses its head, opens its mouth, or rushes may be responding to a pain issue, confusion, fear, or learned behavior—not simply needing more leverage. If control feels unsafe, do not ride out alone or attempt to solve the issue by changing bits without guidance.
Check the bridle and bit before mounting
Inspect the bridle, reins, stitching, buckles, and bit for wear, cracks, sharp edges, or damage. Confirm that the bit is assembled and attached as designed and that any keepers, curb chain, or other components are in good condition. Use only equipment compatible with the horse, the rider’s training, and the intended activity.
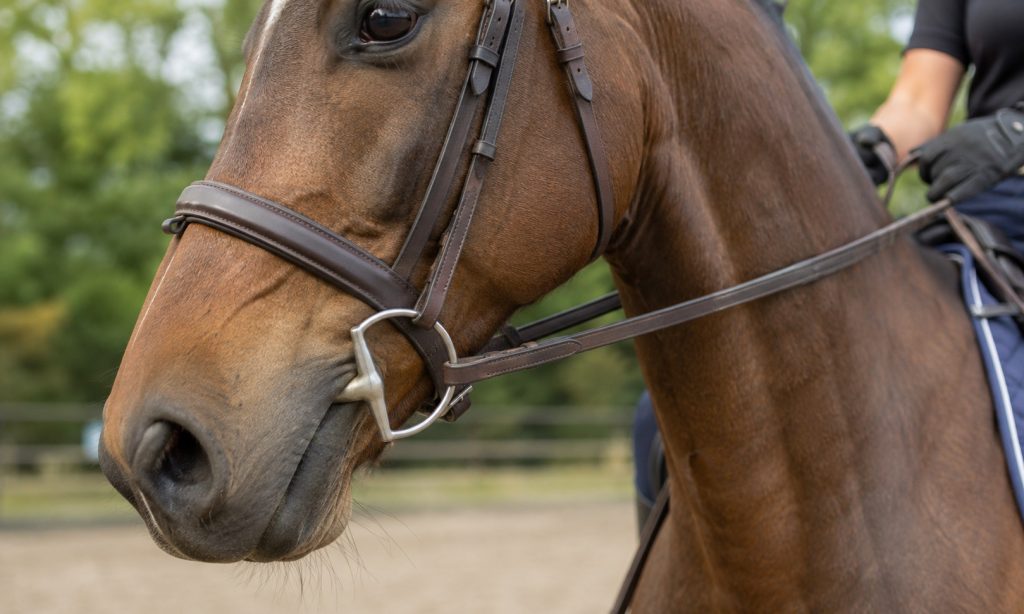
Check that the bit sits comfortably in the horse’s mouth. Utah State University Extension guidance for a horse ridden on a loose or draped rein says the bit should rest at the corners of the mouth without creating wrinkles; the mouthpiece should be wide enough to avoid pinching. Fit varies by bit design, so follow experienced fitting guidance for the specific type. A mouthpiece that is too narrow can pinch, while an unsuitable thickness or shape may interfere with the tongue or jaw.
Do not rely on a fixed number of wrinkles as the only fit test. Check the mouthpiece position, lip comfort, cheekpieces, noseband, and browband together. A bridle that pulls, pinches, or is adjusted too tightly can make the horse uncomfortable even if the bit width is appropriate. If the horse has dental problems or has not had a recent mouth exam, ask a veterinarian or equine dental professional to assess the mouth.
Look for signs of discomfort
Before saddling, observe how the horse accepts the bridle and bit. Repeatedly opening the mouth, tossing the head, resisting bridling, chewing excessively, or trying to evade the bit can be signs of discomfort or another issue. They are not a diagnosis, and some behaviors may have several causes. Stop and seek professional advice if the horse appears painful or unusually resistant.
Check the lips and corners of the mouth for irritation, swelling, sores, or blood. Do not put fingers into the horse’s mouth unless you are trained and the horse is safely controlled. If you see an injury or the horse is painful, do not ride in the bit until a veterinarian or qualified professional has advised you.
After a short ride or schooling session, remove the bridle and inspect the mouth again. Look for new rubs or pressure marks, and note any change in behavior. If discomfort appears, stop using the setup and discuss fit, teeth, and training with a veterinarian, dental professional, or experienced bit fitter.
Prepare for the trail
Before leaving, check the route, weather, footing, ride duration, and group of horses. Make sure the horse is conditioned and accustomed to the terrain. A calm warm-up in a familiar area can show whether the tack feels comfortable and whether the horse responds to ordinary cues. Do not test a new bit for the first time on a remote route, near traffic, or in a group where stopping could be difficult.
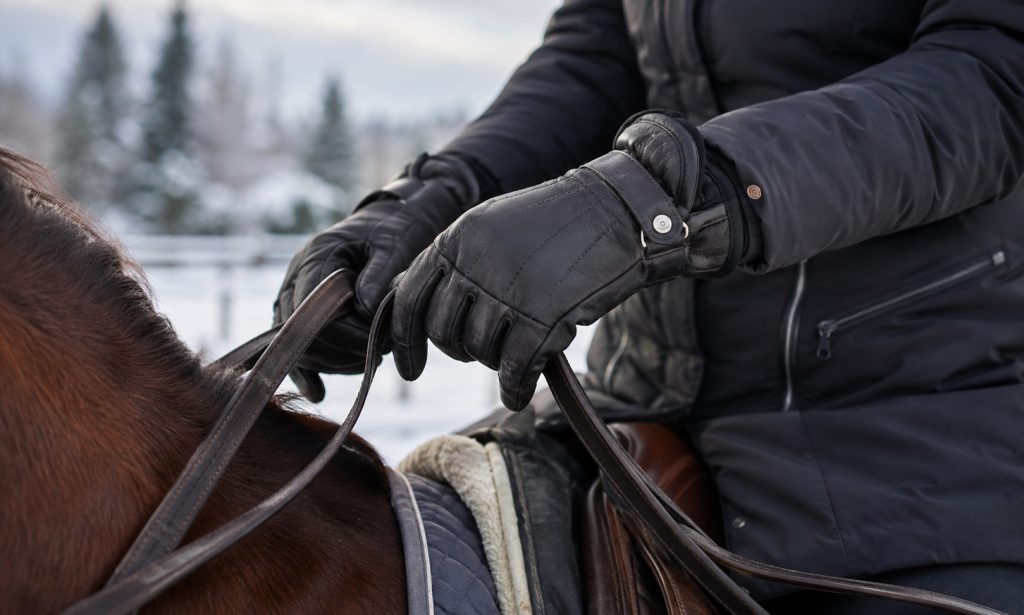
Check that the reins are secure and not cracked, stretched, or slippery. Keep a safe rein length and avoid wrapping reins around your hand. If you ride with a group, agree on spacing and communication before setting out. If the horse becomes anxious or difficult to control, prioritize a safe place to stop and dismount rather than escalating rein pressure.
Competition or organized rides may have rules about permitted bits and tack. Check applicable rules before traveling. The allowed design can vary by discipline, event, and jurisdiction, so do not rely on a general list.
What to do before changing bits
Write down what happens, where it occurs, and whether it changes with terrain, rider, bridle, or workload. Have a qualified person observe the horse in a controlled setting and check the full tack setup. A veterinarian can assess pain or dental issues; a trainer can help evaluate cues and training; a knowledgeable fitter can help assess equipment. These roles can work together.
When trying a different bit, make one change at a time and give the horse a gradual, supervised introduction. Confirm the design is appropriate for the rider’s hands and the horse’s mouth. Do not assume that a thicker, thinner, jointed, or leverage mouthpiece is automatically gentler or more effective. If the horse becomes more resistant or uncomfortable, stop the trial and seek advice.
For product comparisons, see the guide to a horse bit for trail riding. Treat product features as options to discuss with a knowledgeable professional, not a replacement for fit and training.
Frequently Asked Questions
Should I use a stronger bit on the trail?
Not without qualified guidance. More leverage can increase pressure and may worsen discomfort or resistance. Assess training, pain, bridle fit, and rider control first.
How should a bit sit in a horse’s mouth?
Fit depends on the design. It should not pinch the lips or create excessive tension at the corners. Ask an experienced professional to check the specific bit and bridle together.
What does it mean if my horse tosses its head with a bit?
It can have many causes, including discomfort, dental issues, tack fit, training, or the environment. Stop if the horse seems painful and investigate with qualified help.
Can I try a new bit for the first time on a trail?
Introduce new equipment in a controlled setting first, with an experienced instructor or professional. A remote or challenging trail is not a good place to test unfamiliar tack.
When should a veterinarian check the horse’s mouth?
Contact a veterinarian for mouth injury, blood, swelling, pain, or sudden resistance to the bit. Routine dental assessment can also help rule out problems that affect comfort.
Final Words
Use familiar equipment that fits the horse’s mouth and the rider’s skills, inspect it before mounting, and check for new soreness afterward. A horse that resists the bit may be uncomfortable, confused, worried, or affected by a dental or other health issue; do not assume a more severe bit is the answer. Make changes gradually with qualified help, and choose a safer route or ride plan if control is uncertain. When reviewing a horse bit for trail riding, focus on fit, the horse’s response, and the rider’s ability to use it comfortably.